
I have a lot of information to give you today, so I'm going to jump right to my tutorial on how I prepared this darling note-card purse. I had saved a picture of it and asked all my Late Night Stamper friends if they new who had created it. Nobody new, but I got tons of e-mail asking me how to make it. I finally found the picture on our Demonstrator Stampin' Connection web site, went to her (Amy Kircher's) blog, but no instructions included. So, I don't know how Amy made hers but this is how I made the following purse (because there are so many pictures, they all small, please right-click to enlarge in new window):

 |
| Side view showing note-card box. |
Note Card Purse Directions – Sandi Dailey
12" x 6" Cardstock
5 ½" x 7 ½" Matching Cardstock2 Pieces of 6" x 4" Designer Series Paper
4 or 5 Brads
2 Pieces of 10 ½" of Ribbon
Adorning Accents Edgelits Die
Adorning Accents Textured Impressions Embossing Folders
Simply Scoring Tool
Big Shot
Sticky Strip
Piercing Tool
Pencil & Ruler
Directions:
1. Cut cardstock for purse base at 12" x 6".
2. Score at 5 ½" and 6 ½"on 12" length.
 |
3. On the front and back inside of the base put a tic mark ½" in on the top of the center score lines (on the 6" width). 4. Using ruler, draw a line starting at tic mark up to the top corner edge on all 4 marks and then across the center score lines from back panel tic to front panel. |
back of your purse shorter at bottom in “V” shape.
 |
| 6. Use Adorning Accents Edgelit on top and bottom (front and back). |
 |
| 7. Use Adorning Accents Embossing Folder underneath the Edgelit cuts. |
8. Cut 2 pieces of 6" x 4" Designer Series Paper.
9. Run both pieces through the big shot using the Adorning Accents Edgelits Die on top and bottom.
 |
| 10. Adhere Designer Series Paper to the purse on front and back (centering). |
 |
| and then turn over and trim the sides. |
 |
| 12. Use Piercing tool to attach the two 10 ½" pieces of ribbon to the top front and back of the purse, using the four brads. (I folded the purse together so I could pierce both sides at the same time so they would line up) |
 |
14. Score box piece on long side (7 ½") at 1" and 4 ½". 15. Turn to short side (5 ½") on Simply Scoring Tool and score at 3 ¼" and 4 ¼". |
 |
16. Fold on all score lines, using bone folder, and cut just the center score lines up to the 1" scores on sides. 17. Apply Sticky Tape to center 1" flaps so it is on the “outside” of the box; apply more Sticky Tape to “inside”long flaps on top-left and bottom-right of long flap and adhere the sides together. |
 |
| 18. Use a strip of Sticky Tape at bottom of box and both long sides to adhere box to the inside of your purse (centering). |
 |
| Center (right and left) on inside center score lines. |
 |
| Finished note-card purse. |
And there you have it!! Let me know what you think or if you have questions (I'm not the best at giving these written tutorials). I'm looking forward to showing you lots more pictures from this awesome event.
Until next time,
Sandi
"Though a righteous man falls seven times, he rises again. . . ." -- Proverbs 24:16


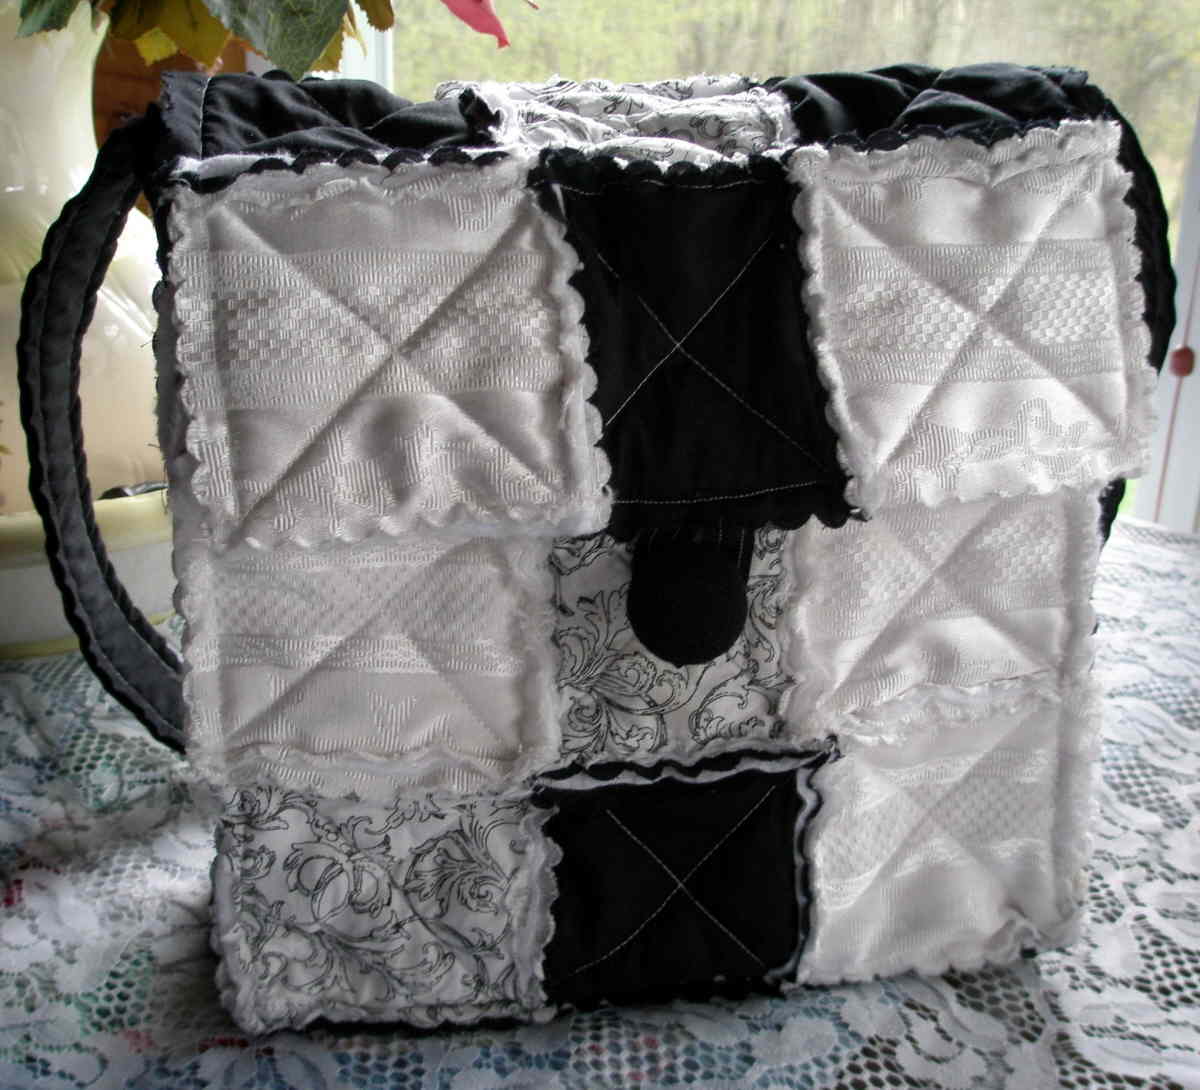


 This is the front. This material is probably over 40 years old as it belonged to my Grandmother, so I am surprised it didn't fall apart.
 This is the side view, showing one of the pockets (there is one on the other side also).
 This is the back view -- yes, the purse is full but I did have enough room for everything!